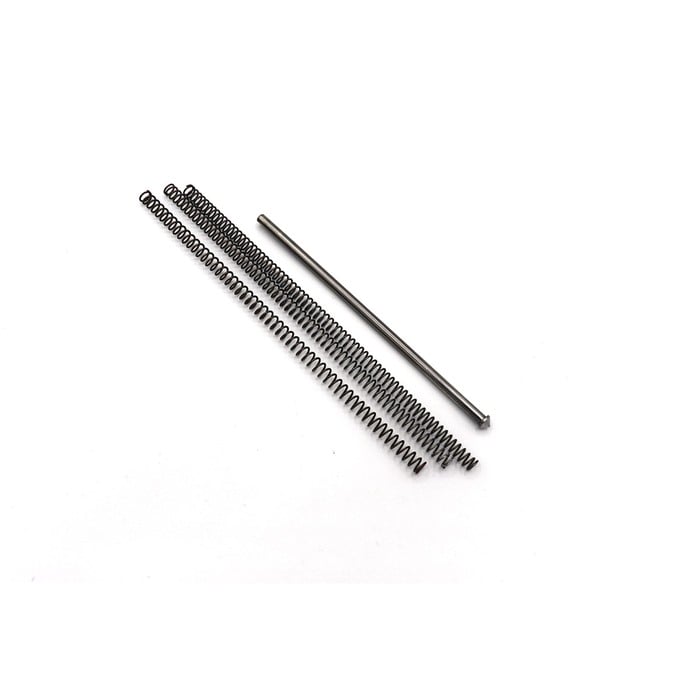
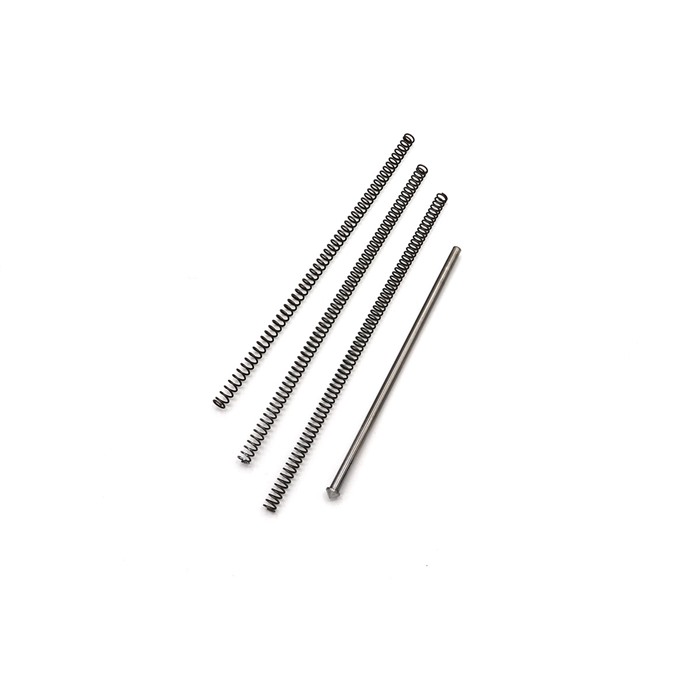
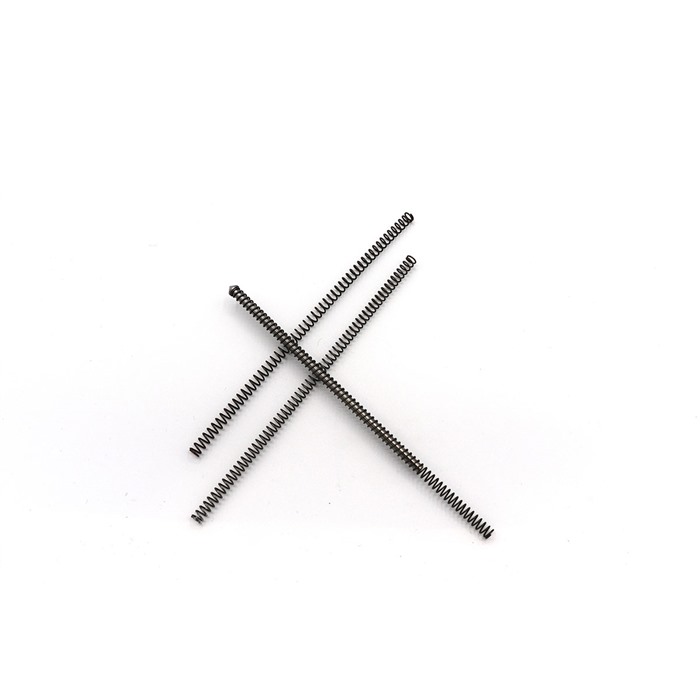
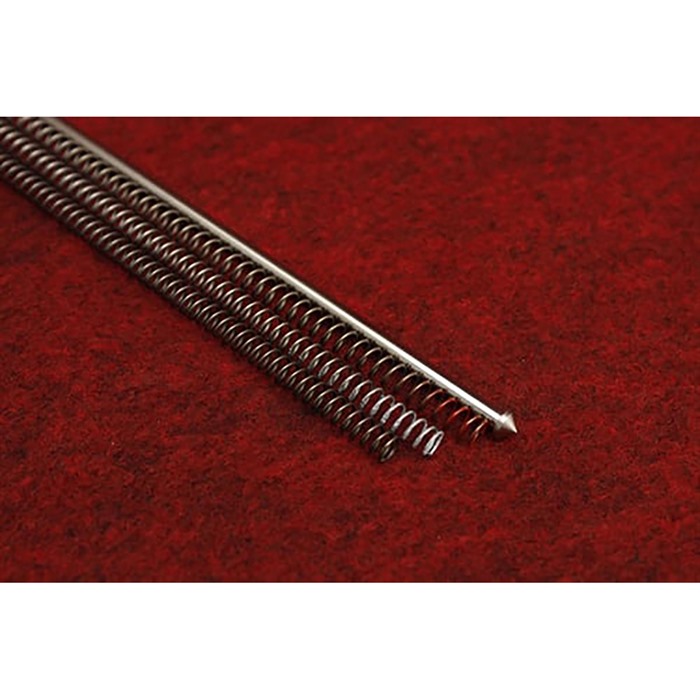
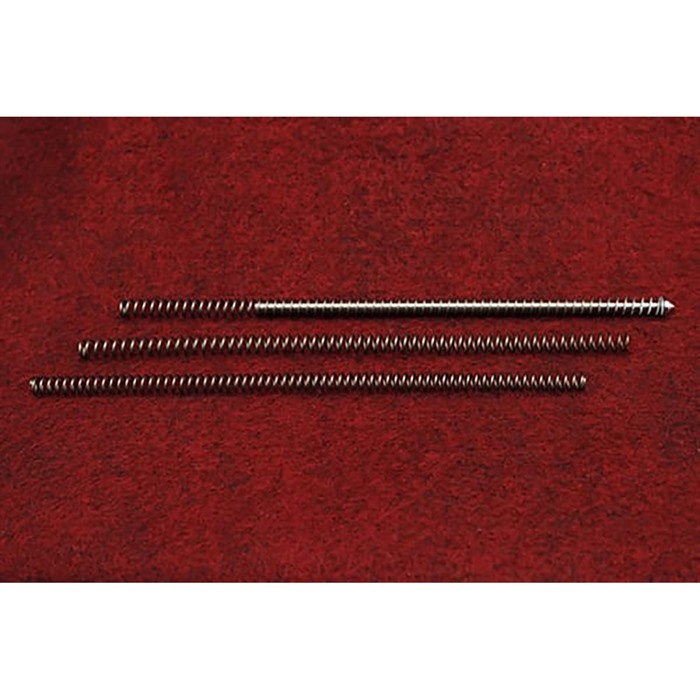
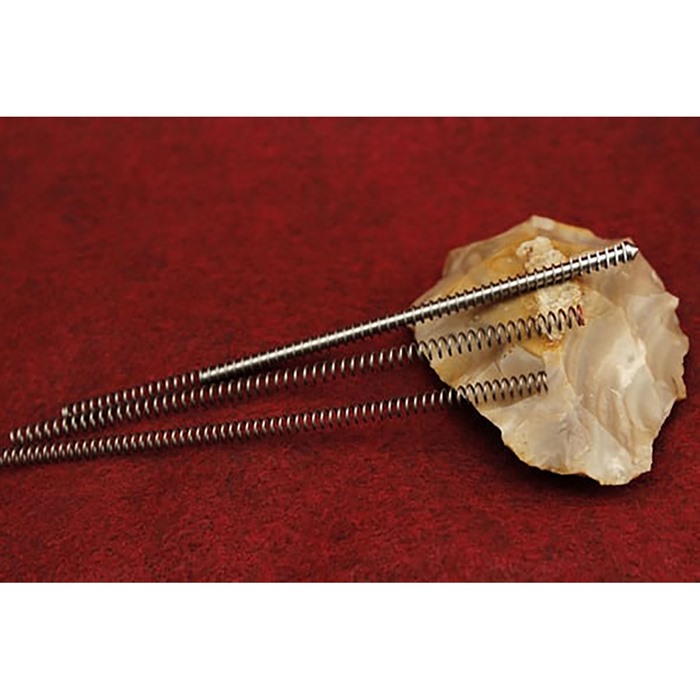
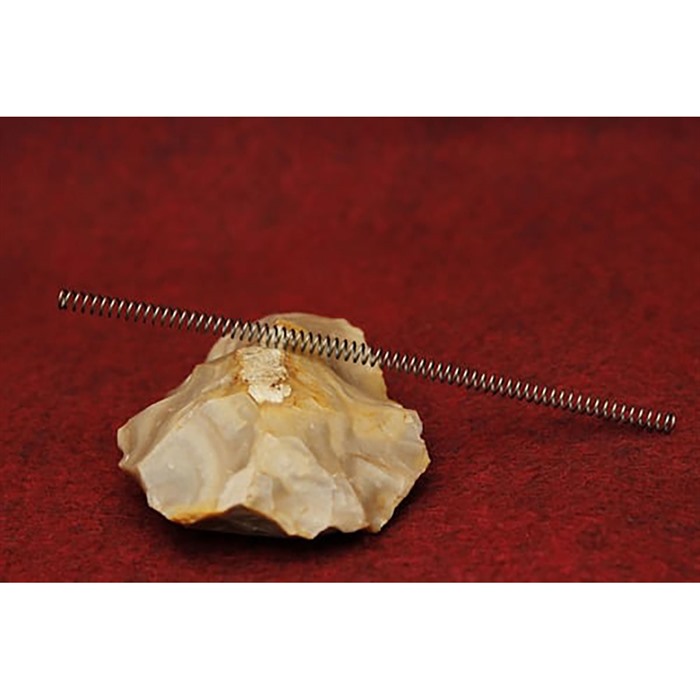
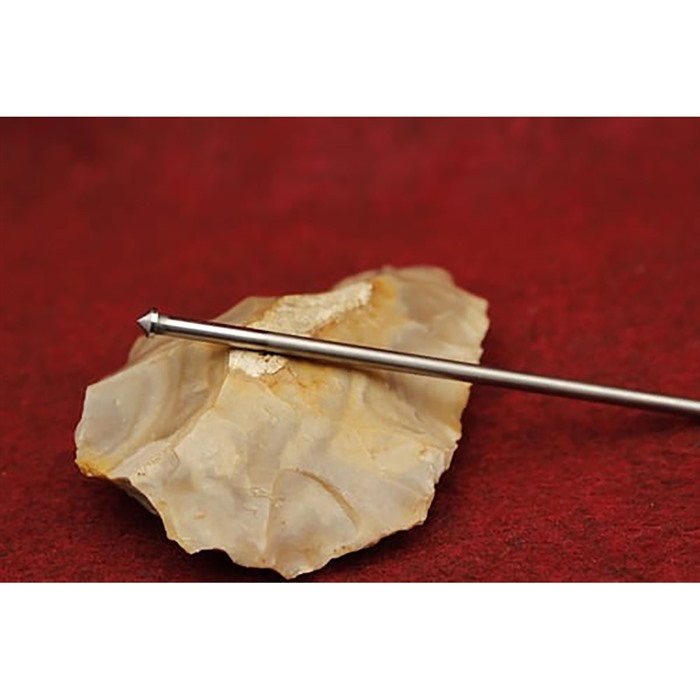
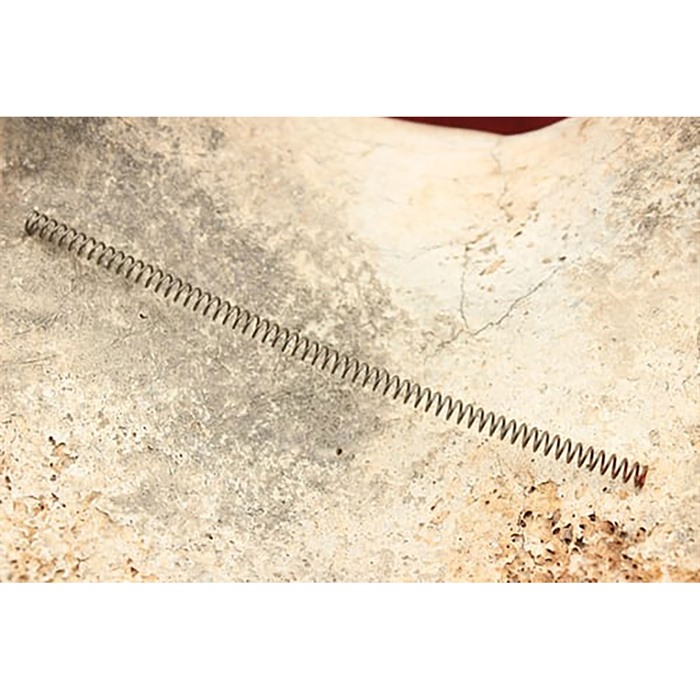
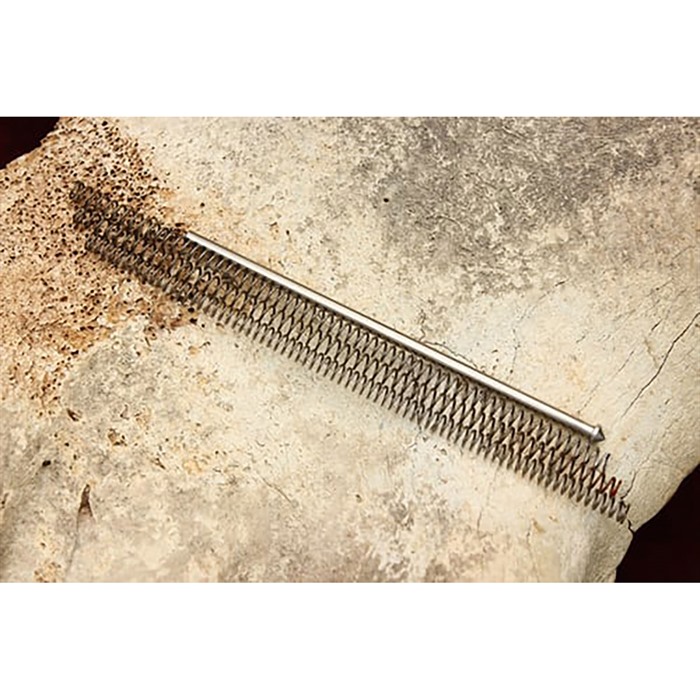
Upgrade the bolt handle assembly in the 10/22® Slick guide rod for easy racking Interchangeable tuning springs:(White=standard, Red=10% increase, Green=10% decrease) This great upgrade kit for your 10/22® will provide you with a comfortable bolt handle to grasp, a "super slick" guide rod, and the ability to tune the recoil of your rifle with our interchangeable springs. All bolt handle lengths are 1 3/4", which is 1/4" longer than the factory bolt handle assembly kit giving greater clearance for the shooter's knuckles while racking the bolt. The three tuning springs come in varying tensions for the ultimate in tuning capability. Though by and large the standard tension spring will serve the shooter throughout the different ammunition velocities. If, due to tolerance stacking or preferred ammunition the cycling of the action is out of sync then the shooter has the capability to change the spring without using the more primitive method of cutting coils to tune a spring. Handle Weights: black 762 (modified z shape flute)= .3 oz Precision ground guide rod is made from hardened tool steel and held to 2/10,000" tolerance throughout its entire length. The rod is nitride treated which gives its surface a 70C rockwell (harder than a file) surface hardness. Guaranteed the smoothest and slickest guide rod in the industry. Packaging Includes: bolt handle guide rod 3 tuning springs Installation instructions: After removing the stock from the barreled action, remove the trigger and bolt stop. This will allow the needed clearance for the bolt to be removed along with the bolt handle assembly. After choosing your proper spring tension slip the bolt handle assembly in from the ejection port, placing the cone end of the rod into the containment hole in the receiver. Then fully compress the bolt handle assembly while placing the bolt on it. After the mating of the bolt handle and bolt, let off the containment allowing the bolt to go forward. Install the bolt stop pin, trigger and stock. The video below offers some of the finer installation points.
Mejora tu Ruger 10/22 con este kit de guía y resorte
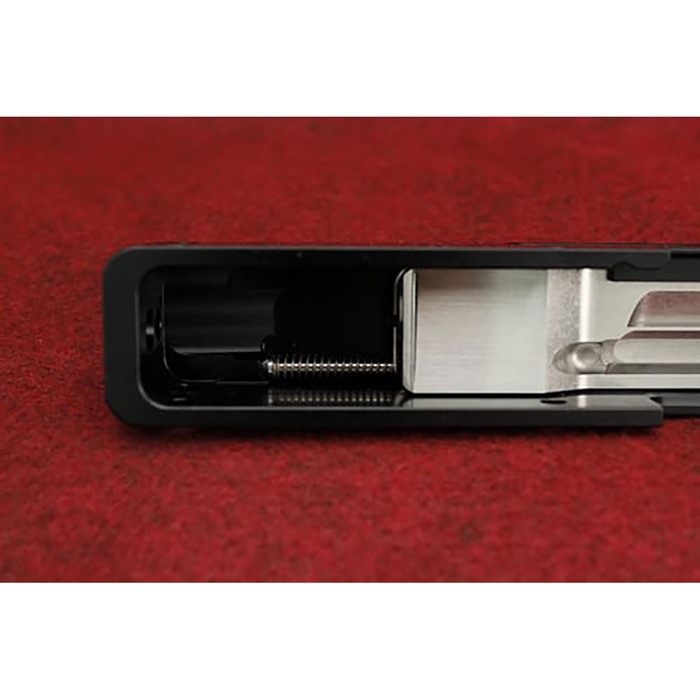
Actualiza el ensamblaje del mango del cerrojo en tu 10/22®. Este kit incluye:
- Guía de cerrojo suave para un fácil manejo.
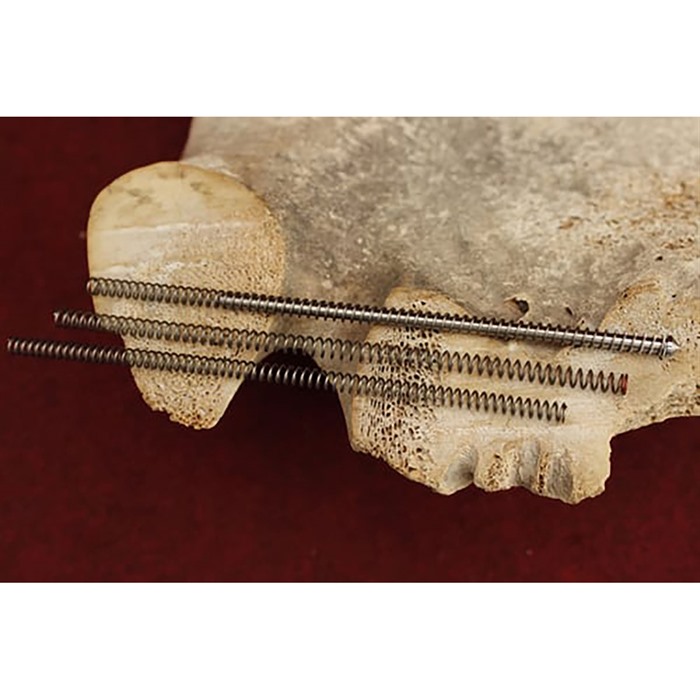
- Resortes de ajuste intercambiables: (Blanco=estándar, Rojo=aumento del 10%, Verde=disminución del 10%)
Este gran kit de actualización para tu 10/22® te proporcionará un mango de cerrojo cómodo de agarrar, una guía de cerrojo "super suave" y la capacidad de ajustar el retroceso de tu rifle con nuestros resortes intercambiables. Todos los largos de los mangos de cerrojo son de 1 3/4", lo que es 1/4" más largo que el kit de ensamblaje del mango de cerrojo de fábrica, proporcionando mayor espacio para los nudillos del tirador al accionar el cerrojo.
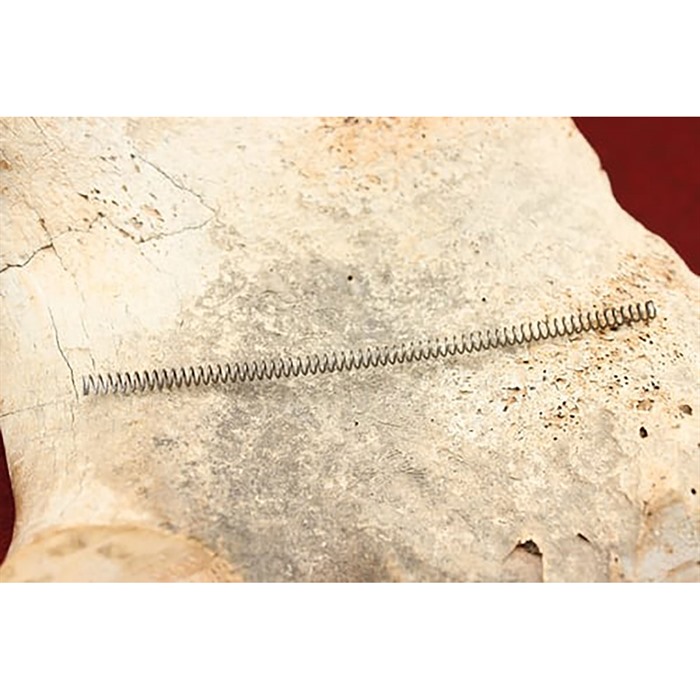
Los tres resortes de ajuste vienen en diferentes tensiones para la máxima capacidad de ajuste. Aunque en general el resorte de tensión estándar servirá al tirador a lo largo de las diferentes velocidades de munición. Si, debido a acumulación de tolerancias o munición preferida, el ciclo de la acción está desincronizado, entonces el tirador tiene la capacidad de cambiar el resorte sin usar el método más primitivo de cortar espirales para ajustar un resorte.
Peso de los mangos: negro 762 (flute en forma de Z modificado) = 0.3 oz
La guía de cerrojo de precisión está hecha de acero de herramienta endurecido y se mantiene dentro de una tolerancia de 2/10,000" a lo largo de toda su longitud. La varilla está tratada con nitruro, lo que le da a su superficie una dureza de 70C Rockwell (más dura que una lima). Garantizado como la guía de cerrojo más suave y slick de la industria.
El paquete incluye:
- mango de cerrojo
- guía de cerrojo
- 3 resortes de ajuste
Instrucciones de instalación:
Después de quitar la culata del conjunto del cañón, retira el gatillo y el tope del cerrojo. Esto permitirá el espacio necesario para retirar el cerrojo junto con el ensamblaje del mango del cerrojo. Después de elegir la tensión de resorte adecuada, desliza el ensamblaje del mango del cerrojo desde el puerto de eyección, colocando el extremo cónico de la varilla en el agujero de contención del receptor. Luego, comprime completamente el ensamblaje del mango del cerrojo mientras colocas el cerrojo sobre él. Después de que el mango del cerrojo y el cerrojo se acoplen, suelta la contención permitiendo que el cerrojo avance. Instala el pasador del tope del cerrojo, el gatillo y la culata. El video a continuación ofrece algunos de los puntos de instalación más finos.